 en
en 中文简体
中文简体 русский
 Español
 Deutsch
 Polskie
 REQUEST A QUOTE

 Home / News / Industry News / Rotational Molding Troubleshooting: Fix Common Defects & Process Issues
 Rotational Molding Troubleshooting: Fix Common Defects & Process Issues
Content
Every rotomolding shop knows the sinking feeling when a batch of water tanks comes out with pinholes along the parting line, or a fuel tank mold produces parts with soft spots that fail pressure testing. The defects are rarely random. They follow patterns that point to specific root causes in the mold design, the resin choice, or the process cycle.
This guide walks through the most common rotational molding problems, the practical fixes that work on the production floor, and the situations where the real solution requires changing the mold itself rather than adjusting temperatures again.
Why Rotational Molding Defects Happen
Rotational molding is a forgiving process. It runs at low pressure, has no gate marks, and creates minimal molded-in stress. Yet defects still appear because the process depends on three factors staying in sync: the mold geometry, the material behavior, and the heat transfer timing.
Most defects trace back to four areas:
- Mold design - parting lines, venting, wall thickness distribution, and draft angles
- Material - resin density, melt flow index, and additive package
- Process cycle - oven temperature, rotation ratio, cooling rate, and demold timing
- Heating and cooling behavior - thermal gradients across the mold surface
On average, roughly 70% of rotational molding defects can be eliminated by correcting venting, adjusting rotation speed, and slowing the cooling phase.
Each defect type has a distinct signature. Learning these signatures is the fastest path to solving them.
Common Rotational Molding Defects and How to Fix Them
The table below maps common defects to their likely causes and the first fix worth trying.
| Defect | Typical Cause | First Fix to Try |
|---|---|---|
| Bubbles / blow holes | Inadequate venting or trapped air | Increase vent size, relocate vent |
| Uneven wall thickness | Wrong rotation ratio or low oven temp | Adjust rotation ratio, raise oven temp |
| Warping / deformation | Uneven cooling or premature demold | Rotate during cooling, extend cooling time |
| Discoloration | Overheating or thermal degradation | Reduce oven temperature, shorten cycle |
| Low impact strength | Poor fusion or resin degradation | Raise oven temp, check resin quality |
Bubbles, Blow Holes, and Voids
Bubbles appear as small pores on the surface or as trapped pockets inside the wall. They occur when air cannot escape through the mold vent, or when the resin outgasses faster than the vent can handle.
The fix starts with the vent. Check whether the vent diameter is large enough for the part volume. A common guideline is one 6 mm vent for every 10 liters of part volume. If the vent is correctly sized but clogs with melted resin, switch to a self-cleaning vent design.
Powder particle size also matters. Coarser powder tends to trap less air during charging, but it may fuse less evenly. Testing a different grind distribution for your resin grade often resolves bubble issues without mold modification.
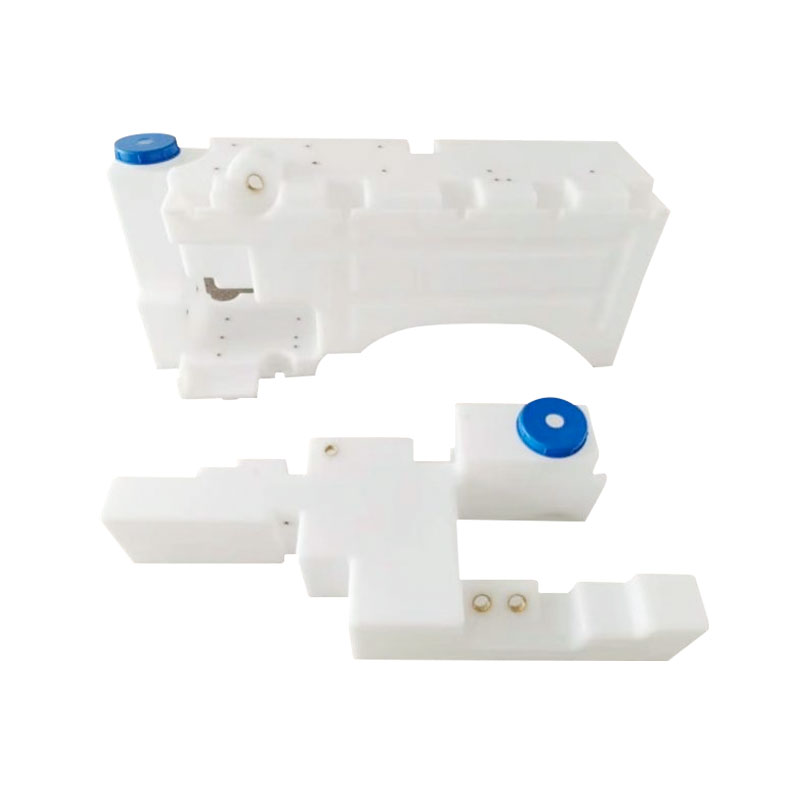 Automotive Fuel Tank Rotational Mold for Improved Fit and Weight ReductionThis one-piece rotational mold produces seamless, complex-shaped fuel tanks that fit chassis space efficiently. Its plastic construction reduces weight versus metal, contributing to better fuel economy.View Product →
Uneven Wall Thickness
Wall thickness variation is the most visible defect in rotomolding. In a misadjusted cycle, a 100-liter water tank can come out with a 4 mm wall on one side and 8 mm on the other. That translates directly into weak spots, dimensional warping, and wasted material.
The rotation ratio is the first lever. The recommended starting point is 4:1, meaning four turns around the primary axis for every one turn around the secondary axis. This ratio ensures the powder reaches all internal surfaces consistently. Parts with complex internal geometries may require a 5:1 or 6:1 ratio.
Oven temperature is the second lever. If the oven runs too cold, the resin never reaches the low-viscosity state needed to flow into every corner. Thick edges and thin centers result. Raise the oven temperature in 10 °C increments and re-test the wall distribution.
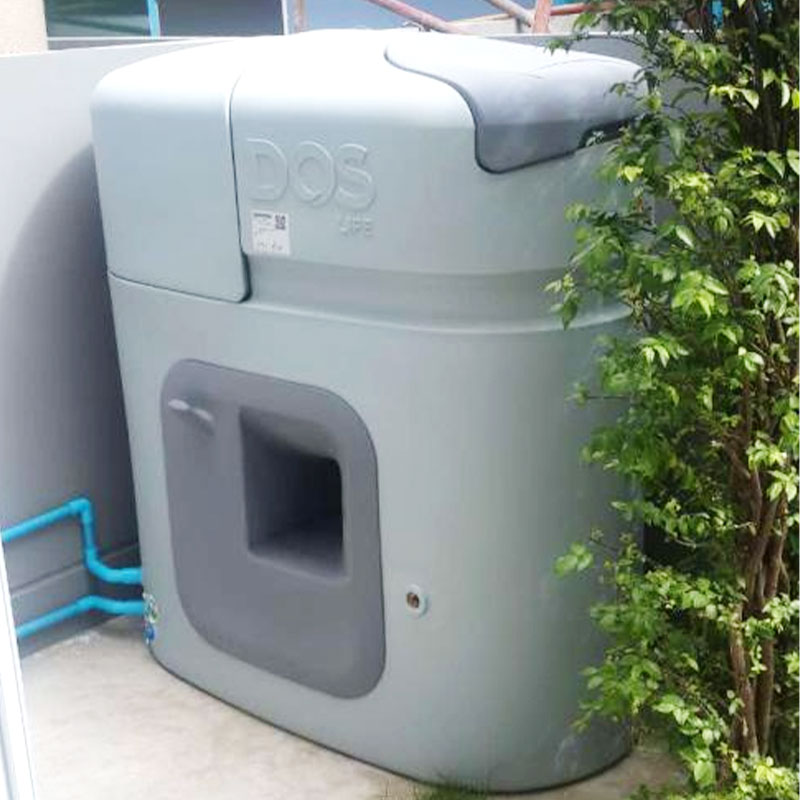 Water Tank Storage Container Mold for Seamless Large-Capacity TanksDesigned for uniform wall thickness and structural integrity, this mold enables production of joint-free containers used in industrial, agricultural, and infrastructure applications.View Product →
Warping and Deformation
Parts warp because one side cools faster than the other. The faster-cooling side shrinks first and pulls the part out of shape. In a kayak or fuel tank, this can make the part impossible to fit into its housing.
The core fix is cooling control. Keep the mold rotating during the cooling phase so the part cools evenly from all directions. Some molders stop rotation only after the part reaches its glass transition temperature, then continue cooling in place to shorten cycle time.
If warping persists, check the wall thickness balance. Thicker walls hold more heat and cool more slowly. Where design permits, add ribs or extra material in thin sections to equalize the cooling rate.
Discoloration and Surface Issues
Discoloration, yellowing, or brown scorch marks mean the resin has seen too much heat for too long. The most common cause is an oven temperature above the resin's recommended range or an overlong cycle.
Correct this by reducing the oven temperature in 5 °C increments. Also examine the mold surface. Rough or pitted mold surfaces create areas of concentrated heat that scorch the resin. Polishing the mold interior or changing the release agent type often clears up surface blemishes.
Low Impact Strength and Stiffness
Low impact strength often indicates incomplete fusion. The polymer chains in the polyethylene powder need to melt, mix, and relax completely for the part to absorb impact energy without cracking.
Verify actual impact performance with an ASTM D256 impact test. If the part fails spec, the likely cause is an underheated cycle. Raise the oven temperature by 5 to 10 °C and extend dwell time at peak temperature. Avoid excessive cooling rate, which can cause larger crystal formation and reduce impact strength.
Low stiffness is a different problem. A part with low stiffness usually has insufficient wall thickness for its structural role. The fix is design-side: increase wall thickness, add stiffening ribs, or choose a resin with a higher flexural modulus. For heavy-duty applications, consider a high-density polyethylene grade.
Process Parameters That Prevent Most Defects
The process cycle has three phases: heating, rotation, and cooling. Each has parameters that must be set for the specific part geometry and resin grade.
| Parameter | Typical Range | Defect Risk When Out of Range |
|---|---|---|
| Oven temperature | 260-300 °C (resin dependent) | Discoloration, poor fusion |
| Primary rotation speed | 4-12 rpm | Uneven wall thickness |
| Rotation ratio | 4:1 (part dependent) | Wall voids, flow lines |
| Cooling time | 15-30 minutes | Warping, shrinkage |
The fastest way to reduce defects is to log every parameter change and correlate it with measured part quality. A simple spreadsheet with date, mold, resin, oven temperature, rotation ratio, and defect type often reveals patterns that no single operator notices.
Temperature alone is not the answer. The relationship between oven temperature, rotation ratio, and cooling time determines whether a part comes out dimensionally true or distorted.
Mold Design and Material Selection as Preventive Measures
Troubleshooting can be done at the process level, but a mold that cannot produce a good part will always fight you. That is where mold design choices and material selection matter most.
Key mold design points:
- Vent placement must be at the highest point of the cavity where air collects during rotation.
- Parting line design matters for flashing. A well-machined parting surface with the right clearance reduces flash and prevents trapped air at the seam.
- Draft angles of at least 1 to 2 degrees are required for easy demolding. Vertical, unrelieved surfaces cause drag marks.
- Wall thickness should stay as uniform as design allows. Deep pins or sharp corners create resin-rich zones that cool slowly and distort.
Material selection is equally critical. The same mold running with a 0.94 g/cm³ polyethylene behaves differently than with a 0.955 g/cm³ grade. Higher density gives better stiffness and impact strength, but it shrinks more and may require a longer cooling cycle.
When you buy molds and run parts at the same time, the mold supplier needs to know the resin you plan to use. A mold designed for a 0.940 density resin may not perform correctly with a 0.960 material. Share the resin data sheet with the toolmaker before the mold is cut.
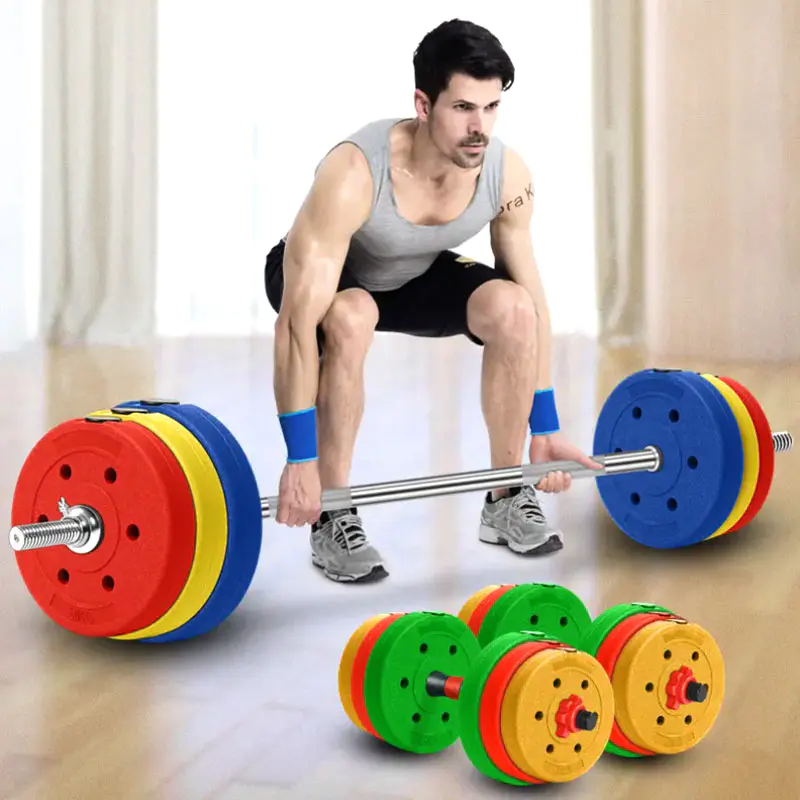 Sports Equipment Mold for Consistent Dumbbell Plate ProductionThis mold ensures precise dimensions and smooth surfaces for dumbbell plates. It offers high strength and durability, with options for cast or forged aluminum to suit varying needs.View Product →
When to Call the Mold Maker
There is a limit to how much a process adjustment can change. When a problem follows the mold from one machine to another, or when the same defect appears with different resin batches, the mold itself is the root cause.
Situations that warrant a call to the mold maker:
- Parting line flash appears at every cycle even with clean vents.
- Wall thickness is uneven after confirming the rotation ratio is correct.
- Internal voids appear in the same corner of every part.
- The mold surface shows wear, pitting, or damage that creates repeating defects.
A reputable toolmaker will help you understand whether the fix is a process change or a mold modification. Bring your data: the resin grade, the oven temperature, the rotation ratio, and defect photos. With that information, the decision becomes much faster.
For a deeper look at the full process cycle, read our comprehensive rotomolding guide.
Frequently Asked Questions
Q1: What causes bubbles in rotational molding?
Bubbles are caused by trapped air that cannot escape through the mold vent, or by outgassing from the resin under heat. The most common fixes are increasing the vent size, relocating the vent to the highest point of the cavity, and using a finer powder grind that packs more evenly.
Q2: How do I fix uneven wall thickness in rotomolding?
Start by adjusting the rotation ratio. The standard starting point is 4:1. If the ratio is already correct, raise the oven temperature in 10 °C steps to improve flow. Also check that the mold is mounted squarely on the machine so it rotates evenly.
Q3: Why do my rotomolded parts warp?
Uneven cooling is the main cause. Keep the mold rotating during the cooling phase and extend the overall cooling time. Also check wall thickness distribution. Thicker sections hold more heat and cool more slowly, which pulls the part out of shape.
Q4: What is the most common rotational molding defect?
Uneven wall thickness is the most frequently reported issue. It is also the first defect that reveals a process problem, since it affects both structural integrity and the visual quality of the part.
Conclusion
Rotational molding troubleshooting is a systematic exercise in reducing variability. Start with venting and rotation ratio, verify oven temperature against the resin supplier's recommendation, and control the cooling phase carefully. When a defect appears only in one mold and never in another, treat the mold as the suspect.
Good tooling is the first line of defense against common rotomolding defects. A mold designed with adequate venting, proper draft angles, and balanced wall sections will deliver reliable parts from day one.
Contact us with your part drawings or the details of your current production setup. Our engineers at ZHROTO Mould will help you get to the root cause.

We provide customers with one-stop services ranging from product design, mold manufacturing to finished product production.
-
 +86-18006248936
 -
 ricky.t@zhroto.com
 -
 No.9 Jiangyuan Road, Luotang Street, Jiangyan District, Taizhou City,Jiangsu Province, China
Copyright © Jiangsu Zhroto Mould Co., Ltd. Rights Reserved.Custom Rotational Plastic Molding Factory
